推荐资讯


人气排行
- 05-23 1如何下载高清卫星影像
- 05-28 2水经注CAD智能影像加载插件使用教程
- 11-08 3百度网盘可免费下载全国34省高清卫星影像啦!
- 11-01 4如何打开DAT与IDX文件
- 07-11 5水经注万能地图下载器功能简介
- 06-01 6如何下载10米精度的地球高程数据
- 02-13 7全国乡镇与街区行政边界下载
- 03-02 8省市县行政区划边界下载
- 05-24 9如何下载矢量格式的CAD等高线
- 06-28 10《水经注全球离线地图2.0》发布

一、准备工作
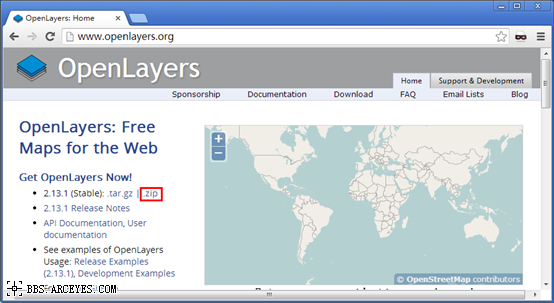
1、 到OpenLayers的官方网站下载压缩包,如下图所示。
2、到水经软件官方网站下载《卫星地图下载器》。
二、下载示例数据
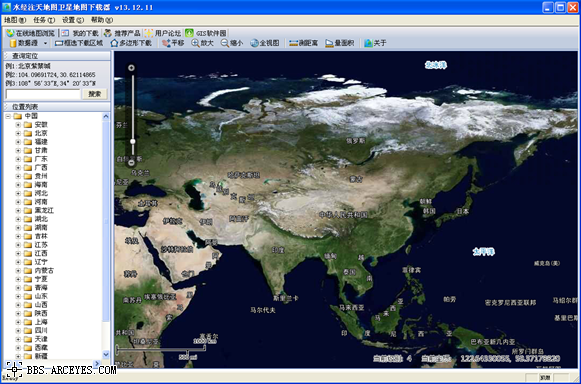
这里以《卫星地图下载器》为你说明如何下载卫星地图。
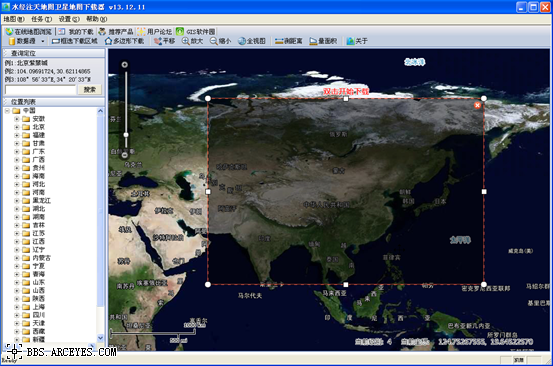
安装卫星地图下载器以后,启动软件,如下图所示。
由于只是为了作演示说明如何在OpenLayers中使用离线卫星地图,这里我们只需要框选中国范围,即点击工具栏上的“框选下载区域”,然后在视图中绘制选择范围,如下图所示。
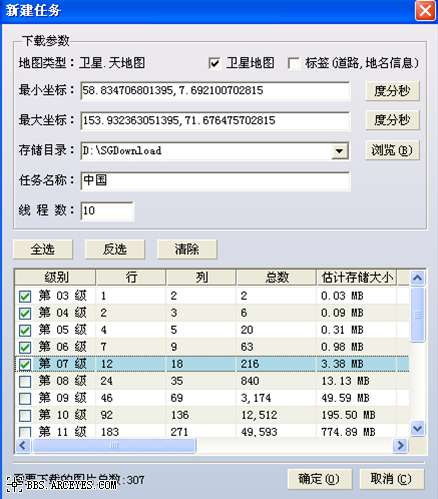
在范围中双击鼠标左键,显示新建任务对话框,在该对话框中我们只选择3到7级进行下载即可,如下图所示。
下载完成后,导出ArcGIS Server瓦片,如下图所示。
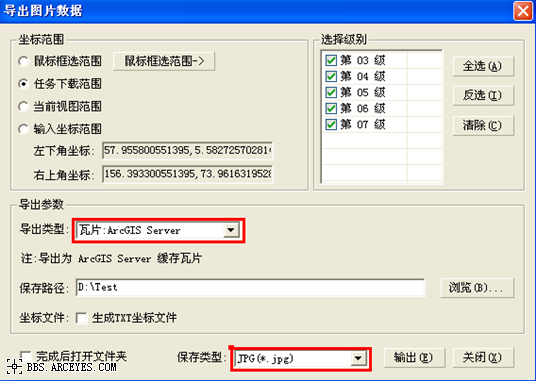
点击“输出”按钮,开始导出。
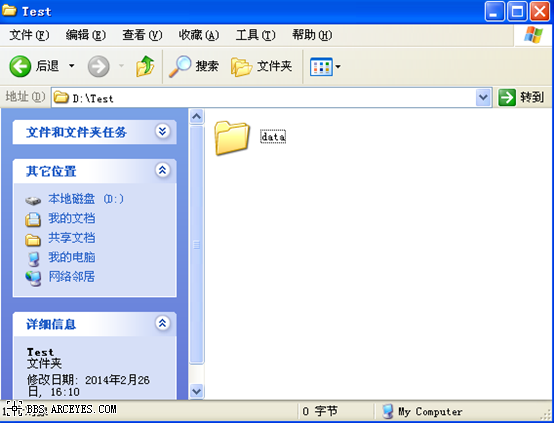
等待导出完毕,会在D盘Test目录看到“中国_ArcgisServerTiles”这个文件夹,如下图所示。
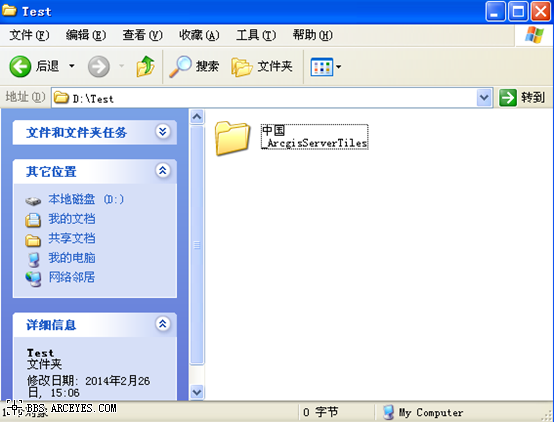
然后将“中国_ArcgisServerTiles”文件夹重命名为“data”,如下图所示。
三、服务器端地图引擎配置
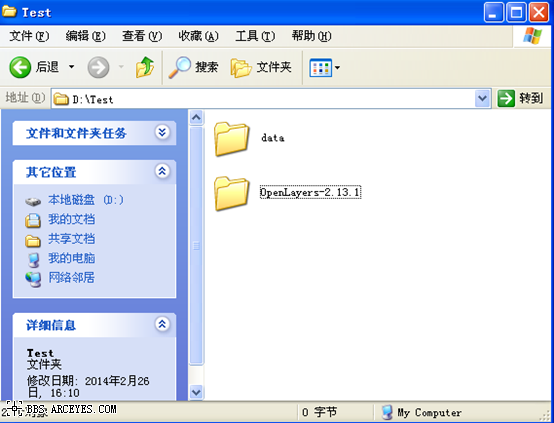
第一步:将下载的OpenLayers-2.13.1.zip解压到D盘Test目录。如下图所示。
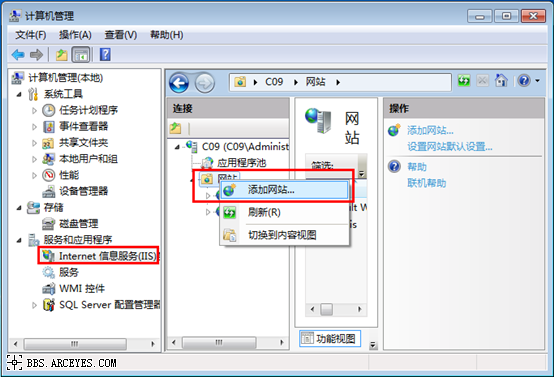
第二步:新建网站
在IIS中新建网站,如下图所示。
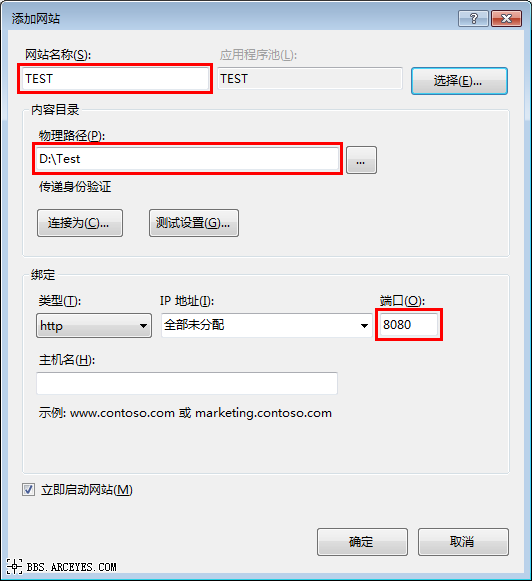
这里我们将网站命名为“TEST”,物理路径设置为“D:\Test”,端口设置为“8080”,如下图所示。
第三步:将以下代码复制并保存为html文件(如“Example_ArcGIS Server.html”),放到“D:\Test\OpenLayers-2.13.1\examples”目录中。
==============================代码开始=============================
<!DOCTYPE html>
<html>
<head>
<title>ArcGIS Server Map Cache Example (Direct Access)</title>
<meta http-equiv="Content-Type" content="text/html; charset=utf-8">
<link rel="stylesheet" href="OpenLayers-2.13.1/theme/default/style.css" type="text/css">
<link rel="stylesheet" href="style.css" type="text/css">
<script src="../lib/OpenLayers.js"></script>
<script src="../lib/OpenLayers/Layer/ArcGISCache.js" type="text/javascript"></script>
<script type="text/javascript">
/* First 4 variables extracted from conf.xml file */
/* Tile layers & map MUST have same projection */
var proj = 'EPSG:4326';
/* Layer can also accept serverResolutions array
* to deal with situation in which layer resolution array & map resolution
* array are out of sync*/
var mapResolutions = [
1.40625,
0.703125,
0.3515625,
0.17578125,
0.087890625,
0.0439453125,
0.02197265625,
0.010986328125,
0.0054931640625,
0.00274658203125,
0.001373291015625,
0.0006866455078125,
0.00034332275390625,
0.000171661376953125,
0.0000858306884765625,
0.00004291534423828125,
0.000021457672119140625,
0.0000107288360595703125,
0.00000536441802978515625,
0.000002682209014892578125,
0.0000013411045074462890625,
0.00000067055225372314453125
];
/* For this example this next line is not really needed, 256x256 is default.
* However, you would need to change this if your layer had different tile sizes */
var tileSize = new OpenLayers.Size(256, 256);
/* Tile Origin is required unless it is the same as the implicit map origin
* which can be affected by several variables including maxExtent for map or base layer
*/
var agsTileOrigin = new OpenLayers.LonLat(-180, 90);
/* This can really be any valid bounds that the map would reasonably be within */
/* var mapExtent = new OpenLayers.Bounds
(293449.454286,4307691.661132,314827.830376,4323381.484178); */
var mapExtent = new OpenLayers.Bounds(-180, -90, 180, 90);
var aerialsUrl = 'http://localhost:8080/data/_alllayers';
var map;
function init() {
map = new OpenLayers.Map('map', {
maxExtent: mapExtent,
controls: [
new OpenLayers.Control.Navigation(),
new OpenLayers.Control.LayerSwitcher(),
new OpenLayers.Control.PanZoomBar(),
});
var baseLayer = new OpenLayers.Layer.ArcGISCache('Aerials', aerialsUrl, {
tileOrigin: agsTileOrigin,
resolutions: mapResolutions,
sphericalMercator: false,
maxExtent: mapExtent,
useArcGISServer: false,
isBaseLayer: true,
type: 'jpg',
projection: proj
});
map.addLayers([baseLayer]);
//map.zoomToExtent(new OpenLayers.Bounds(295892.34, 4308521.69, 312825.71, 4316988.37));
map.setCenter(new OpenLayers.LonLat(103,31).transform
(map.displayProjection, map.getProjectionObject()), 3);
}
</script>
</head>
<body onLoad="init()">
<h1 id="title">
ArcGIS Server Map Cache Example (Direct Access)</h1>
<div id="tags">
</div>
<p id="shortdesc">
Demonstrates the basic initialization of the ArcGIS Cache layer using a prebuilt
configuration, and direct tile access from a file store.
</p>
<div id="map" class="smallmap">
</div>
<div id="docs">
<p>
This example demonstrates using the ArcGISCache layer for accessing ESRI's ArcGIS
Server (AGS) Map Cache tiles directly via the folder structure and HTTP. Toggle
the visibility of the AGS layer to demonstrate how the two maps are lined up
correctly.</p>
<h2>
Notes on this Layer</h2>
<p>
It's important that you set the correct values in your layer, and these values will
differ between tile sets. You can find these values for your layer in conf.xml at
the root of your cache. (ie. <a
href="http://serverx.esri.com/arcgiscache/dgaerials/Layers/conf.xml">
<p>
For fused map caches this is often
http:<i>ServerName</i>/arcgiscache/<i>MapServiceName</i>/Layers
<br>
For individual layer caches this is often
http:<i>ServerName</i>/arcgiscache/<i>LayerName</i>/Layers
</p>
<h2>
Other Examples
</h2>
<p>
This is one of three examples for this layer. You can also configure this layer
to use <a href="arcgiscache_ags.html">prebuilt tiles from a live server.</a> It
is also possible to let this <a href="arcgiscache_jsonp.html">layer 'auto-configure'
itself using the capabilities json object from the server itself when using a live
ArcGIS server.</a>
</p>
</div>
</body>
</html>
==============================代码结束=============================
第四步:双击打开刚才保存的文件,如果部署正确,则将会显示离线WGS84卫星地图的浏览结果,如下图所示。
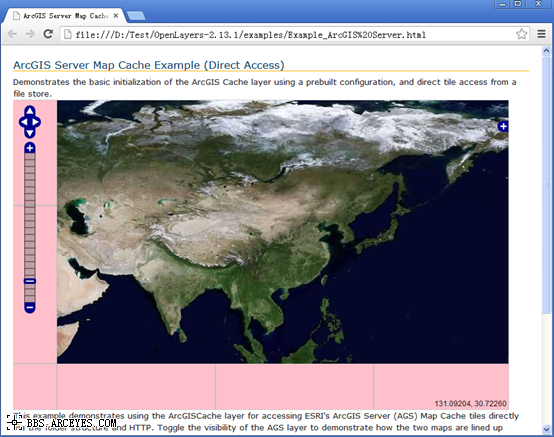
当然,你也可以通过以下网址进行访问,效果也是一样的。
http://localhost:8080/OpenLayers-2.13.1/examples/Example_ArcGIS%20Server.html
以上即是如何将基于OpenLayers在服务器端进行部署的全部过程及示例源码,你可以基于此平台并根据自己的实际需求作进一步开发了。
推荐阅读:
【Cesium】在开源地球 Cesium 离线加载影像和高程!
【ArcMap】在ArcMap中离线加载海量卫星影像的方法!
【GoogleMap API for JS】最新版GoogleMap API 离线源码下载技术!
长按关注水经注,我们与你更近一步

地图下载|地图发布|系统部署|定制研发
请拔打24小时热线:400-028-0050
相关资讯
暂无相关的资讯...